It cannot be overstated how important it is to resize, compress, rename, and SEO-optimize images on your website. It will take time to follow the initial instructions, but it becomes very efficient once learned.
Images that are too large in size (greater than 400kb) will slow down your website, damage your SEO, and increase your hosting storage fees.
There are multiple ways to add media to the website media library including the dashboard menu’s Media > Add New, but you will likely upload images during the process of creating new website content.
Before Upload:
1. Make sure the image is properly formatted, sized and compressed.
- ≤ 2000px max width
- < 500kb max file size
- Saved as a .jpg, .png, or .webp.
If so, skip to “After Upload.” If not, continue.
2. Use an image resizing tool such as Preview for Mac (Tools > Adjust Size) and adjust the size of the image to 2000px wide or less.
3. Save or export the image (Preview for Mac: File > Export) to a .jpg, .png, or .webp format.
4. Use a image compression tool and compress the image to under 500kb. If the image is still too large, try exporting it to the smaller .jpg format (unless it needs a transparent background). You can also try .webp, which is an optimized image format made for using online.
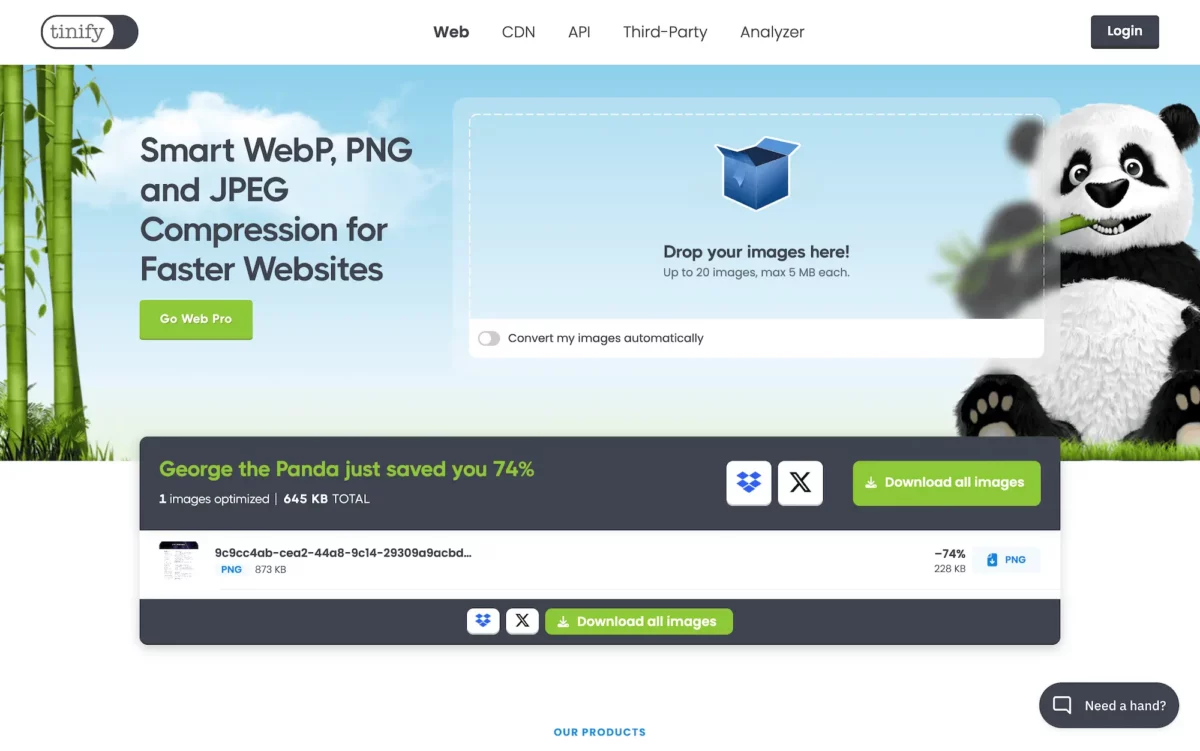
- Free online compression: TinyPNG
- Free Mac app: Image Optimizer
- Free PC and Mac app: Caesium
- Free online .webp converter: FreeConvert
There are also paid WordPress plugins that can perform image resizing and compression for you. Discuss with Smart Inbound if you would like to explore these options.
5. Change the file name to something descriptive, searchable, and helpful for search engines, such as:
- wells-fargo-online-banking-smiling-teller.png
- john-deere-tractor-exterior.jpg
- smart-inbound-documentation-image-compression-example.webp
Avoid image titles like home-page-header.png, screenshot-00-00-00.png, or IMG_1234.png as they are not helpful for SEO or other website managers to find in the media library.
After Upload:
6. Upload the image into the media library. Some common methods include:
- Selecting the “Add Media” button in the WordPress backend text area of a blog post
- Selecting “Add Image” inside the frontend visual builder’s image module
- Typing “/image” on a blank line inside the WordPress backend block editor
- Drag and drop a properly formatted and compressed image into the WordPress media library
After an image is uploaded, use the “Attachment Details” column to fully optimize the rest of the image information.
7. Enter an alt tag for the image. Alt tags are important for SEO and also help screen readers describe the image to users. Alt tag should be helpful first, and keyword-centric second.
- “A smiling Wells Fargo teller using the online banking app.”
- “The green exterior of a John Deere tractor in a field.”
- “A screenshot of TinyPNG, an image compression website.”
Alt tags should also describe functional images, for images such as logos or icons:
- “The black and white company logo.”
- “A light bulb icon.”
- ” A ‘Contact Us’ image button.”
8. You may want to reformat or rename the title, but it is likely auto-generated from the properly named file. It is not important to SEO, but it can help you stay organized.
9. You may want to add a caption to the image before it is placed on the page. Captions may or may not be visible, depending on its placement. The caption you write can be changed each time you place this image on a page.
10. You may want to copy the alt tag into the description. The description is only used in some cases, but it could be relevant to SEO if so.
11. Select the best folder for this image, if you have folders available. This will help all backend website users quickly find past images, and reduce the chance of re-uploading the same image multiple times.
12. If you have the option, select the smallest possible image size for your use case. Upon every upload, WordPress duplicates and resizes the image into four sizes: thumbnail, medium, large, and the original full size. Using the full-size image is usually necessary for fullwidth backgrounds, but it will almost certainly harm SEO if used inside post or page content.
13. Review the information and select the Upload Image or Set Image button when ready.
Finished Example:
Below is an embedded .webp image that has been resized, compressed, and properly labeled. It is only 85kb at full-size, and just 40kb using the medium size below.
Here is an example of an uploaded image with all of the attachment details added:
